How Compact Japanese Holly Is Propagated From Cuttings
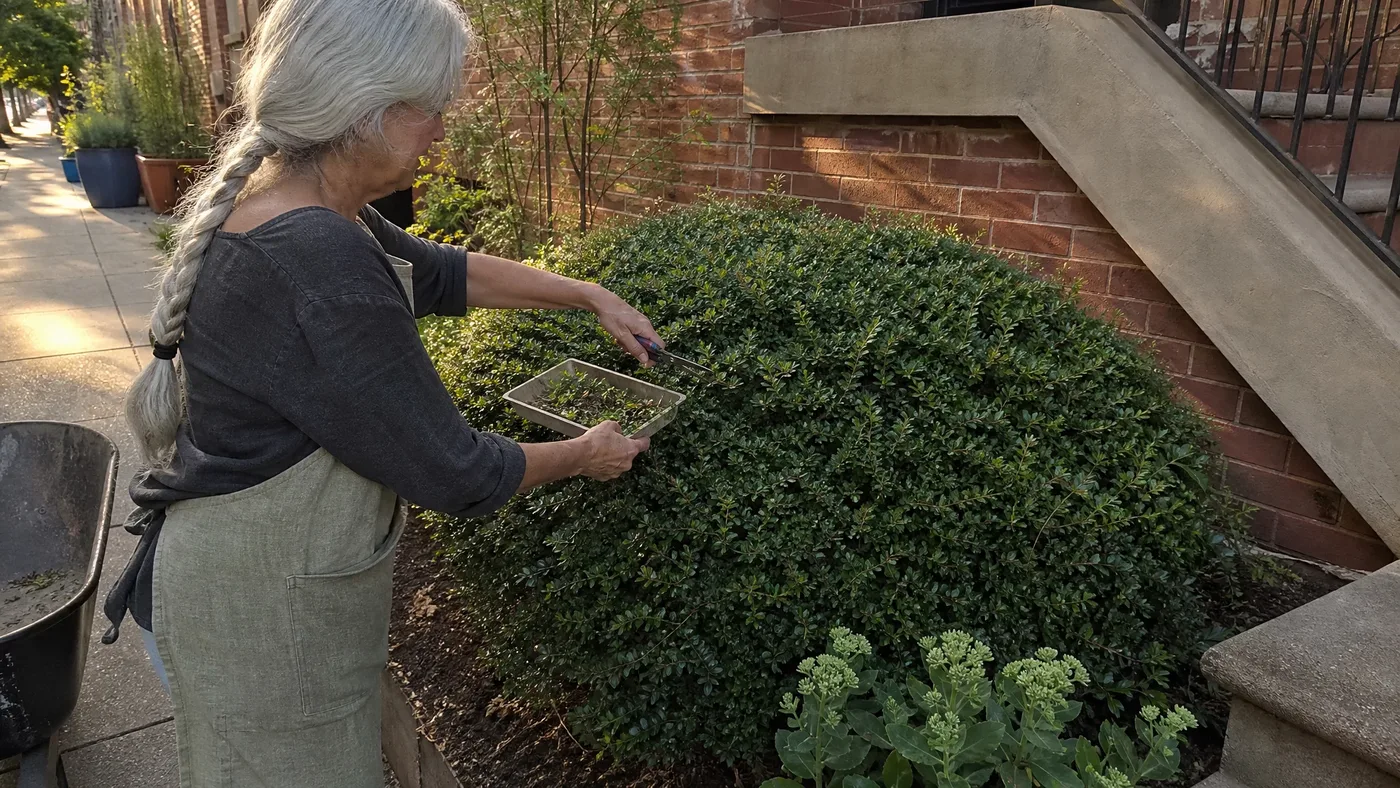
Walk the length of a Compact Japanese Holly hedge in late summer and look past the glossy leaves. Most of what you see at the surface is stiff, twiggy new wood, laid down since spring and just beginning to firm up. People expect a hedge shrub to be fixed and finished. This one is busy making raw material.
That new wood is what you can take without harming the shrub. A hedge that gets sheared anyway can spare a handful of shoots, and each one can become a new plant with the same dense habit as its parent. Done well, you get matching hedge plants for the cost of a little grit and patience.
Below, you'll find out all about rooting Compact Japanese Holly from cuttings, including why seed is the wrong route, which shoots to pick, how to wound and dip them, what to root them in, and how to tell slow progress from failure.
Why Compact Japanese Holly Rarely Comes True From Seed
Most holly advice starts with berries and seed. For this plant, that road is closed before you start, and the reasons are worth knowing.
No Berries to Sow
The 'Compacta' cultivar is male and does not bear fruit, so your shrub has no seed to collect. Hollies carry male and female flowers on separate plants, and only the females make berries. Your hedge is a male clone, kept for its shape rather than its fruit.
Seedlings Do Not Copy the Parent
Seed from some other Japanese holly would not solve this. Seedlings shuffle the traits of both parents, so you would get a spread of habits instead of the tight, rounded form you chose. The species grows wild in Japan and Korea, where that variety is how it adapts.
Holly seed is also known for slow, patchy germination. You would wait through at least a growing season just to see what you had.
What a Cutting Keeps
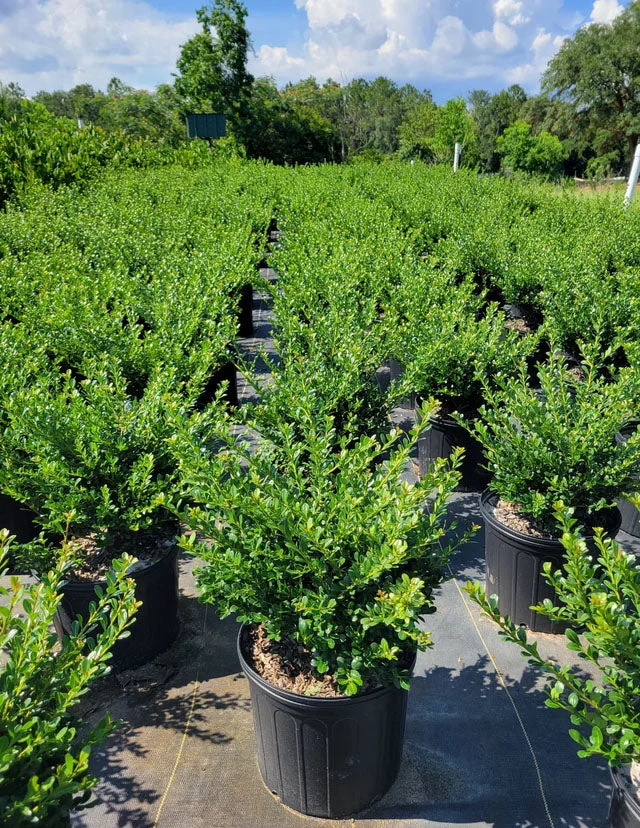
A cutting is a piece of the parent, so it carries the same leaf, the same branching and the same male flowers. 'Compacta' grows 6–8 feet tall and 6–10 feet wide, and a rooted cutting grows toward exactly that.
You will see advice to stratify holly berries and sow them in fall. That is sound for berry-bearing hollies and useless here.
Choosing Wood From Compact Japanese Holly Branches
The right shoot is firm at the base and still growing at the tip. Touch and timing decide it.
Time the Harvest
Semi-ripe cuttings in late summer or early autumn suit Ilex crenata, and we use the same window for 'Compacta'. By then the spring flush has hardened enough to resist rot but has not yet turned fully woody.
Winter cuttings need heated equipment, so we steer most people to the late summer window.
Read the Shoot
Choose this year's side shoots from the outer hedge. Bend one. Semi-ripe wood is firm and green-brown at the base, flexible near the tip, and snaps instead of folding. Soft tip growth wilts too fast, and old gray wood roots poorly.
Check the leaves for the pale stippling of spider mites, an occasional pest on this cultivar, and skip any shoot that shows it.
Take From the Whole Hedge
One of the most common questions we get is whether taking cuttings leaves gaps. It does not if you take a few shoots from many places rather than many from one. If you already trim following our guide to pruning Compact Japanese Holly, collect as you go.
Cutting Compact Japanese Holly Stems and Clearing the Leaves
Once you have your shoots, work quickly. A cutting has no roots, so every minute in open air costs it moisture.
Make a Clean Cut
Use sharp, clean pruners or a knife. Cut just below a leaf node, the point where a leaf joins the stem, because roots form most readily there. Trim each stem so you have a few nodes to bury and a few leaves left above.
Drop the cuttings into a plastic bag with a damp paper towel and keep it in shade. Stick them the same day.
Strip the Lower Leaves
Pull or snip off every leaf on the part of the stem that will sit in the mix. Buried leaves rot and can take the stem with them. Keep the top few leaves, since they feed the cutting while it works on roots.
The leaves on this holly are small, so you do not need to halve them as you would with a large-leaved shrub. If the very tip is soft, pinch it off.
Wounding the Base and Dipping in Hormone
Two small steps at the base of each stem raise your chances. Neither takes long, and both are easy to overdo.
Make a Light Wound
Scrape a thin sliver of bark from one side of the base, just deep enough to show green tissue beneath. Roots tend to form from the callus that grows along that fresh edge.
Keep the wound shallow. Cutting into the core of a thin stem weakens it and invites rot.
Apply Rooting Hormone
Pour a little powder or gel into a separate dish and never dip into the original container, which spreads contamination. Dampen the base, dip the wounded end, and tap off the excess.
Choose a product labeled for semi-hardwood or woody cuttings and follow the label on strength. A heavy coating does not speed things up and can burn the stem. Throw out whatever is left in the dish.
Sticking Cuttings Into a Gritty, Airy Mix
Roots need air as much as water. The mix you choose matters more than almost any other decision in this job.
Build the Mix
Combine coarse perlite or sharp grit with peat or coir, so the mix holds some moisture but drains within moments of watering. Oregon State describes the species as preferring light, moist, slightly acid soils, and the cultivar does not tolerate alkaline soil, so avoid limey sand.
Use fresh mix every time. Our soil and drainage guide explains why this holly punishes soggy ground, and the same logic applies in a tray.
Set the Cuttings
Moisten the mix first, then make each hole with a pencil so the hormone does not rub off on the way in. Firm the mix gently around the stem.
Use this checklist as you go:
- Push each cutting in far enough that all the stripped section is buried and the leaves stay clear of the surface.
- Leave enough space that the leaves of neighboring cuttings do not touch.
- Use a container with drainage holes and water once to settle the mix.
- Label the tray with the date you took the cuttings.
Keeping Humidity Up While Roots Form
A rootless cutting loses water through its leaves and cannot replace it. Your job for the next several weeks is to slow that loss.
Hold the Humidity
Cover the tray with a clear dome, or a clear bag held up on stakes so the plastic never touches the leaves. Lift the cover for a minute each day to let fresh air in, and wipe off heavy condensation.
Pick off any leaf that drops. Fallen leaves are where gray mold starts.
Give Bright Shade
Planted out, this holly wants full sun, six or more hours a day. A cutting wants none of that. Put the tray in bright shade, where it gets plenty of light but no direct sun, which would cook the air under the cover.
Provide Gentle Warmth
Cuttings taken in late summer root in ordinary outdoor warmth. If you work later, a heat mat under the tray supplies the bottom heat. Aim for gentle warmth, not hot, and keep the tray out of any freeze.
Compact Japanese Holly Cuttings Are Slow, Not Failing
This is where most people give up too early. A tray that looks unchanged is rarely a dead tray.
The species is slow-growing, and rooting follows the same pace. We have no reliable week count to give you, so ask your local extension service what to expect in your zone. In our rows, a tray that sits looking the same for weeks is usually working underground.
Do not tug the stems to check. Each pull breaks new root hairs. Use the signs in this table instead.
| What you see | What it means | What to do |
|---|---|---|
| Leaves glossy and firm, stem green | Alive and likely rooting | Leave it alone and keep venting |
| Fresh growth at the tip | Roots have probably formed | Start reducing the cover |
| A few lower leaves yellow and drop | Normal loss | Remove them from the tray |
| Soft, black stem base | Rot | Discard the cutting and check drainage |
| Fuzzy gray mold on leaves | Too wet and too still | Remove affected leaves and vent more |
Potting on Your New Compact Japanese Holly Plants
When roots have formed, the cutting becomes a young plant. It needs a slow handover from the humid tray to open air.
Pot Up Rooted Cuttings
Wait for new top growth and a little resistance when you lift a stem very gently. Move each cutting into its own small pot filled with a free-draining, slightly acid mix, and water it in. Our guide to growing Compact Japanese Holly in pots covers the mix and sizes for the following seasons.
Harden Off Gradually
Open the cover for longer each day, then remove it. Move the pots outside into shade, then into more light over the following weeks. Skipping this step is how you lose a tray you spent months on.
Keep the young plants in a sheltered spot through their first winter. The cultivar is hardy in zones 6a to 8b, but a small potted plant is less tough than an established one.
Plan for Year Five
Plant out when the roots fill the pot, following our guide to planting Compact Japanese Holly. Space them for the width they will reach, not the pot they came from, using our hedge spacing guide.
Patience Pays Off With Compact Japanese Holly
Pick firm, this-year shoots in late summer or early autumn, wound the base, dip lightly, root them in a gritty mix and keep the air humid and the light bright but indirect. Then wait. Look at your tray in a few weeks, gently, and if nothing has changed, leave it be.
Compact Japanese Holly
Nursery-grown Compact Japanese Holly in sizes from 1 Gallon Shrub, shipped to your door.
From $80.55
Shop Now →We are growers with our own farms, and we grow and sell top-quality shrubs. Every Compact Japanese Holly we ship is potted, packed and shipped so it arrives ready to plant, with the same dense habit your own cuttings are working to copy.